Capture Old World Charm with Cerused Wood — The Family Handyman
Cerused forest lets DIYers bring Quondam World amuse into their homes. Here's an explanation of what the ceruse finish technique is and how to get the consequence yourself.

Cerusing wood is a centuries-sometime technique for adding flair to forest finish. Originally developed in the 1500s, it was popular among Fine art Deco artisans, and also in the 1950s. Information technology'southward a technique currently enjoying a renaissance among artisans and DIYers, who love the ease of the application and the antiqued wait of the finished product. If you want to add together a dynamic design element to your projects, give cerusing a attempt!
What is Cerused Woods?
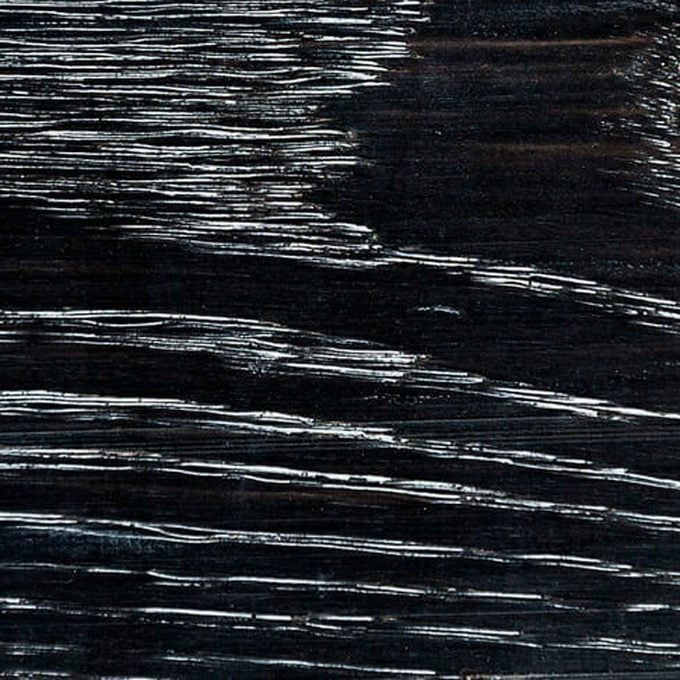
Cerusing (sometimes chosen a "limed stop") is a technique designed draw out the particular and character of the grain in a slice of forest. It takes its name from a blazon of skin cream that was repurposed as a woods preservative. (Which says something near the skin cream!) A side effect of the preservation was that the white cream embedded in the forest grain, creating a pleasing pattern.
Modernistic cerusing techniques use liming wax or paint to accentuate the wood grain, commonly on a piece with a dark stain. By using two singled-out colors, cerused forest gives a strong sense of dissimilarity, and the forest grain becomes a feature to celebrate and highlight, rather than something to push into the background.
Cerused woods besides has a certain "distressed" experience to its advent, without having to create any damage to the forest itself. If you distress wood with a punch and an angle grinder, that forest will e'er be distressed. With DIY cerused wood, you lot exercise have the option to strip and refinish it at a later date.
How to Ceruse Wood
The trick to cerusing is opening up the wood grain so that information technology will accept the highlight color. This is traditionally done with a wire brush. You tin ceruse both previously finished and unfinished woods.
In either instance, yous're first footstep to achieving a ceruse finish will be to prep the forest. If you're removing an existing finish yous'll want to strip the paint or stain using your preferred technique. As you lot're stripping the woods, utilize a wire-bristle brush to scrape in the direction of the grain. Never scrape against the grain, every bit that will requite light, surface scratches that muddy the dazzler of the finished piece. Unfinished forest should be sanded, then scraped with the wire brush. How hard you lot scrape will depend on how much you want the grain to stand out, and how distressed your want the wood to announced. (You may want to practice on a piece of scrap wood to find the right amount of pressure.)
At present it's time to apply a stop to the wood. Use a stain or dye of your preference. If possible, y'all'll desire to use a stain that doesn't contain polyurethane. As well, if your stain is an "all-in-ane" type that has sealer infused in it, you lot'll exist filling in the grain that you lot just spent all that time opening up with the wire brush. Once the base stain is down, you'll use your cerusing material. This might be a water-diluted pigment, or it might be bodily liming wax. Utilize the cloth with a rag, massaging the paint or wax to push button it into the open pores and grain of the woods.
Next, you'll wipe the majority of the cerusing material away, cleaning off the flat surfaces and leaving behind the material in the grain. If you lot used diluted pigment, practise this right away with some other rag or cheesecloth; if you lot used liming wax, follow the manufacturer's instructions (which will usually tell you to wait xxx minutes and so take information technology upward with 000-guess steel wool).
Finally, you can employ sealer over the diluted pigment and stain. If you used liming wax it volition actually create a seal when buffed with a rag, but if it's a often used item, you may desire to utilise more sealer.
All-time Woods to Create a Ceruse Finish
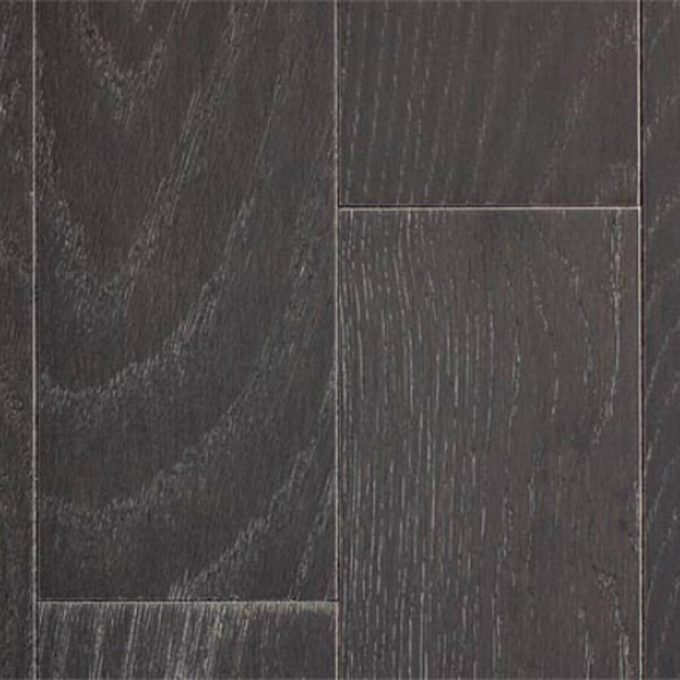
The techniques described above volition piece of work on any kind of wood with a visible grain, but some pieces are better suited to the procedure. Oak is a favorite wood for cerusing considering its heavy grain and open cellular structure means that it takes the diluted paint or liming wax hands. In addition, some oak furniture is made from forest that is cross-cut to highlight the grain pattern. One time cerused, such wood quickly becomes a dramatic chat slice in any room.
Other types of woods can also be cerused, but the effect may be more subtle. To determine if a specific piece of wood will accept cerusing well, run your fingers over the surface. Exercise you feel the ridges and veins of the grain? At present step dorsum and try to look at the catamenia of the grain rather than the forest itself. Attempt to not run into it every bit a table or chiffonier, but just notice the menstruum and direction of the grain. Will it look good highlighted against the residual of the piece? If the answer to these questions is yeah, and so you've got a perfect candidate for cerusing.
Now it's fourth dimension to try cerusing yourself. You can apply this technique on anything with a stiff grain, from kitchen cabinets to patio furniture, as long as you seal the forest against the elements. Adept luck with your ceruse end project!
velazquezscame1998.blogspot.com
Source: https://www.familyhandyman.com/article/capture-old-world-charm-with-cerused-wood/
0 Response to "Capture Old World Charm with Cerused Wood — The Family Handyman"
Post a Comment